Moss Garden in a kitchen sink !
Notes on setting up a moss garden for the Australian National Herbarium Open Days in August 2006
Photos can be enlarged by clicking
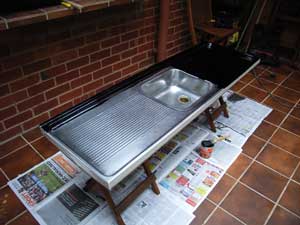
Start with a kitchen sink purchased from a recycle depot for about Aust$20.
Paint it with bituminous paint.
Here half the sink has been painted. |
 |
Paint the whole top surface with bituminous paint.
Bituminous paint is sold for waterproofing tanks etc. A tin like this costs about A$15.
It takes about 10 days to dry. |
 |
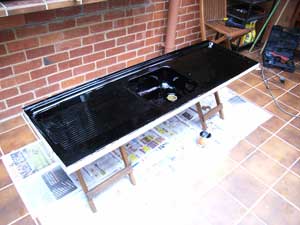
Here the whole top surface of the sink has been painted with bituminous paint.
Masking tape was put on the sides to keep them free of paint. |
 |
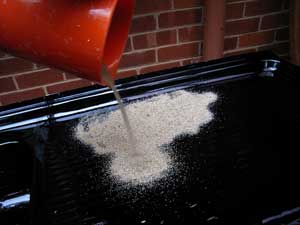
River sand was poured onto the wet surface of the thick bituminous paint.
The sand was about 5 mm deep and pressed into the paint. |
 |
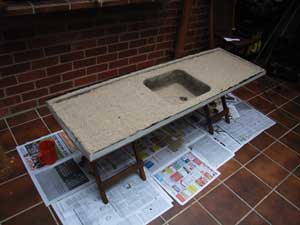
Here the whole surface of the sink is covered in sand.
Leave this for about 10 days for the bituminous paint to dry before brushing the loose sand off. |
 |
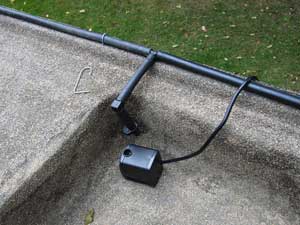
Trickle irrigation tubing was clipped in place along the back edge of the sink over the sand-bonded surface.
A small fountain pump (about A$10) was connected to this tubing. |
 |
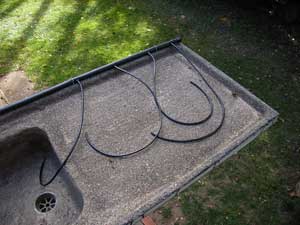
A series of equal-length smaller trickle irrigation tubes were connected to the main pipe at each end of the sink.
The pump pressure was found to be able to deliver water to about 5 of these small tubes at each end of the sink, ie about 10 trickle outlets.
The tube ends were just cut, no trickle irrigation heads were used. |
 |
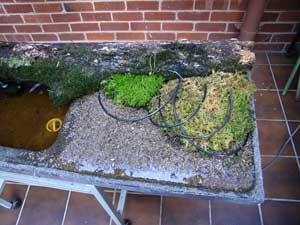
Coarse river gravel was placed over the flat surface of each end of the sink to plant the mosses into.
A length of mossy rotting log was placed along the back length of the sink.
The small tubing was placed to deliver a constant trickle of water to various mosses. It was later buried in the gravel. |
 |
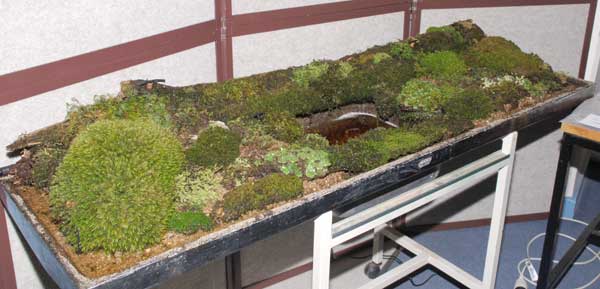
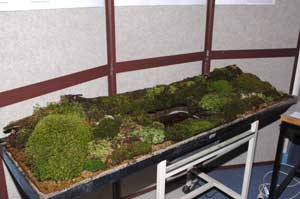
The final display moss garden was set up for two months prior to the Herbarium Open Days. It was put on a frame stand with castors for easy mobility.
It subsequently went on display in the foyer of the Australian National Botanic Gardens Visitor Centre for three months. |
 |
^ top
![An Australian Government Initiative [logo]](/images/austgovt_brown_90px.gif)

